| 28: Buttons
(cont.)
Attaching buttons
Sew through the holes or shank of the button
several times. Take the needle through to the back of the button,
then wind the yarn tightly around the stitches under the button, but
still on the right side of the work. Next, poke the needle through
to the wrong side of the work, and make a few little tight stitches
into the knot formed when attaching the button. Cut the thread. That
should keep the button in place for ever [pic 3].
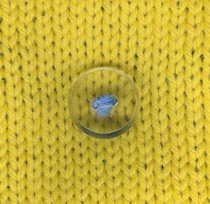
3: This button is in place forever!
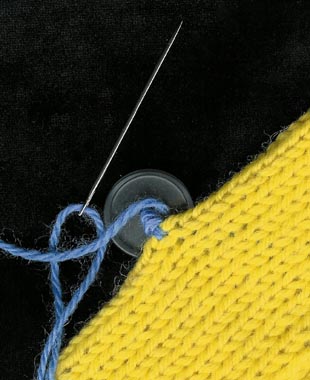
If the yarn used for the garment is very
thick, the button should be attached with a little extension so that
it will fit above the thickness of the fabric at the buttonhole.
When you sew the button in place, pull it slightly away from the
fabric as you stitch through the holes and then take the thread
through to the back of the button. Wind it several times around the
little shank that you have made, and then sew in the end on the back
of the knitting [pic 4].
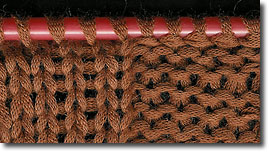
4: A shank is necessary when used on a garment made of
thick yarn.
---
Keep any spares in a special container. If a
button does disappear, or break or split, you will find that
matching old buttons is like a search for the Holy Grail.
NEXT CHAPTER
>> chapter page:
1 | 2 |