24: Front Bands &
Necks on Cardigans & Jackets
(cont.)
There are two ways to pick up stitches to make
a front band. One way is very easy, the other way becomes
unnecessarily complicated, and this is the first method I’m going to
describe to you. Your head will swim, mine does too. But take heart
in knowing there is a better way!
Calculate the number of stitches needed to pick up along a front by
measuring the distance from hem to neck. Then pick up the required
number of stitches according to the yarn used, size of the needles
and the amount of stitches needed for that length. The number will
be slightly different if you measure the length before or after you
iron the knitting, but neither will be too far off the mark. The
stitches have to be picked up evenly if the band is to sit flat.
Once you know the number of stitches needed, then the fun starts
with the placing of the stitches. The only way to work it out is to
divide the length into sections, mark them with a bit of yarn or
safety pins, and then divide the number of sections into the number
of stitches. With a bit of luck, the number will be even, but if
not, then those extra stitches have to be distributed evenly. And
all this can still look wrong if some stitches are crowded in to
achieve the right number. This usually happens because the stitch
number hasn’t been achieved at the end, so here we go, we’ll just
jam a few more stitches. Not a good move [pic 6].
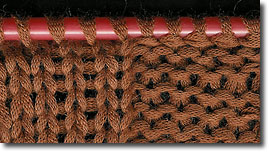
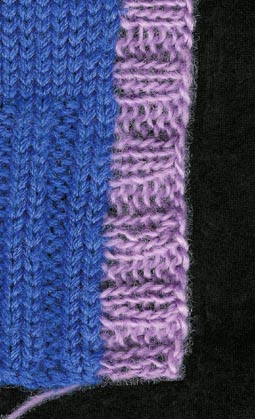
6: Two more stitches had to be
crammed in at the end as the count was wrong. The desperate attempt
to get the right number shows up very badly. (We won’t mention that
the pick up is crooked.)
I asked a friend, a competent knitter, to
pick up forty-eight stitches along a front band. She did the pick up
row for the photograph above. She used exactly the method just
described, and ended up very cross and almost in tears. When I
showed her the easy method, she was furious at her waste of time and
temper.
This difficult method is all very heavy weather, and to do it
correctly is rather like trying to pass a test. Fortunately, you
really don’t have to do all of this. Just read on!
I pick up stitches according to the usual stitch to row ratio for a
right angle edge. Skipping every so many rows distributes the
stitches evenly without having to think about it. Using the same
size needles as used for the body of the garment, following the row
of connecting threads between the first and second stitches from an
edge, pick up three stitches for every four rows along the front
edge from hem to neck. Isn’t that easier [pic 7,8]?
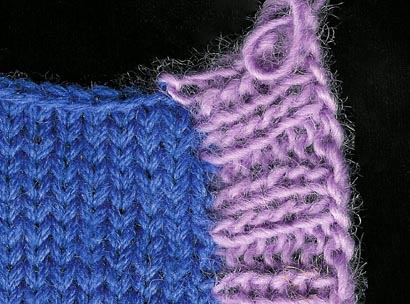
7: (left) Using the same size needle, picking up three
stitches to every four rows along the centre front edge allows the
band to fit perfectly.
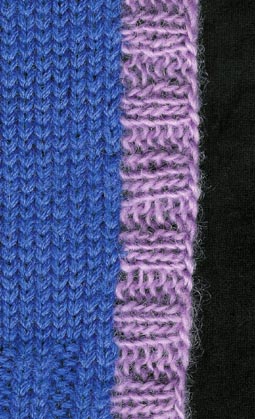
8: (right) The end of the band sits neatly in place.
NEXT PAGE >>
chapter page: 1 | 2 |
3 | 4 |
5 | 6
|