| 17: Seam Theory
If you have counted rows, and edges have
been knitted with the least possible number of bumps, lumps, slipped
edges or joins, it will be easy to make the knitted pieces into a
garment.
Most pattern books, leaflets or magazine editorials suggest working
seams in backstitch. In fact, I used to write patterns for these
publications, and when the proofs came back to be checked, I often
found my careful seam instructions changed to “Using backstitch...”
I would see red!
A backstitch seam, worked with the wrong side facing, is perfectly
adequate to do what is needed, which is joining two bits of stuff
together. But it will never look as good as a seam that has been
worked carefully, matching row to row, or stitch to stitch with the
right side facing, so that you can see what you are doing and what
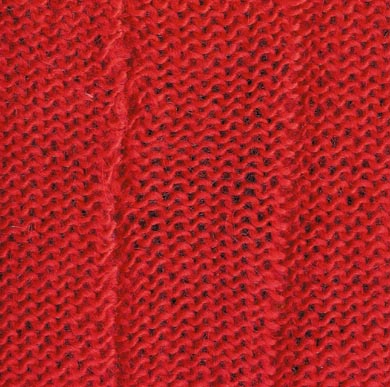
will result [pic 1].
1: The uneven seam on the left (done with all good intent)
has been worked in backstitch with the wrong side facing. The almost
undetectable seam on the right has been worked with the right side
of the work facing, matching row to row.
A backstitch seam formed by three layers of
thread is thick and isn’t flexible. Tight seams stay in place, but
knitted fabric has a certain amount of “give” and a firm seam
doesn’t allow for this. In extreme cases, the seam pulls the band or
hem up at each side, and the fabric of the garment sags at the
centre front or back. This becomes more evident with wear. The best
seam should have the same stretch as the knitted fabric. A
backstitch seam and jagged shaping edges are a deadly combination,
because as there is no place to put the seam close to the edge a
very thick seam results.
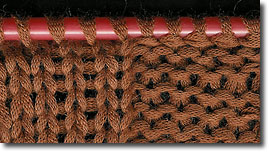
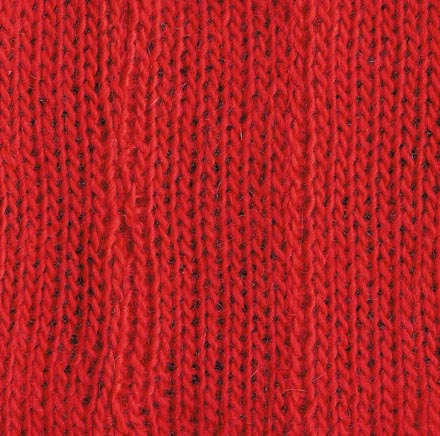
Another drawback of backstitch seams is that
because they are worked on the wrong side, the resulting seam
wanders between the line of adjacent stitches. Joining and matching
stripes and pattern sequences perfectly is impossible with
backstitch [pic 2, 3, 4].
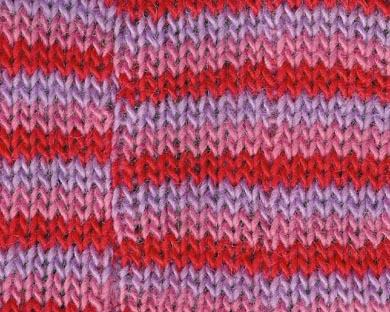
2: A stripe or a pattern emphasises
the difference between the backstitch seam on the left and the seam
on the right worked with the right side facing.

3: The back of the seam on the left,
worked with right side facing contrasts with the thickness of the
back stitch seam shown on the right.
4: A seam worked with the purl side
as the right side facing shows the difference between the two
methods. The backstitch seam is on the left.
NEXT PAGE >>
chapter page: 1 | 2
|